• About
    • Work With Me
    • Contact Me
    • Privacy Policy
  • New? Start here!
  • How To Budget
    • Ways to Save Money
    • Set Up A Budget
    • Stick To A Budget
    • Budget Printables
  • Easy Meals
    • 15 Minute Meals
    • Easy Lunch Ideas
    • Meal Planning
  • Home Organization
    • Home Management
    • Save Time
    • Home Routines
    • Home Management Binder
  • Make Money
    • Work From Home
    • Side Jobs
    • Money Making Apps
    • Hobbies That Make Money
  • Shop
↑

The Busy Budgeter

A balanced life for busy people!

  • Work with Me
  • Contact
  • Home
  • About Me
  • Shop
  • How to Budget
  • New? Start here!
  • Home Organization
  • Make Money
  • Easy Meals
    • 15 Minute Meals

DIY: Bookmark Thank You Cards

By The Busy Budgeter | Leave a comment | This post may contain affiliate links

11 shares
  • Facebook
  • Twitter
  • Yummly

I’ve been making my own cards for a while, but I was looking for a way to improve on my card making. The last wedding card I made took me almost two hours. Since I had over thirty thank you cards to send out this week, That wasn’t going to fly unless I quit my job and dedicated my life to card making. (Which seems a bit extreme to save $15.00 on thank you cards). Plus, whether your buying or making your cards, it’s really a shame that we work on something so hard that will find it’s way to the trash after being read (except for the few sentimental people).

I searched Pinterest for DIY Thank You card designs when I saw an errant post on DIY Bookmarks that I loved (as an avid reader who has a naughty habit of folding pages). They weren’t using them as cards, but I kept thinking to myself… Why not? There’s plenty of room for your message on the back, You can use scrapbook material on the front. It’s extremely frugal, and we’re saving trash (twice, since the bookmarks are a third the size of a card and the recipient can actually reuse it if she has a need for it).

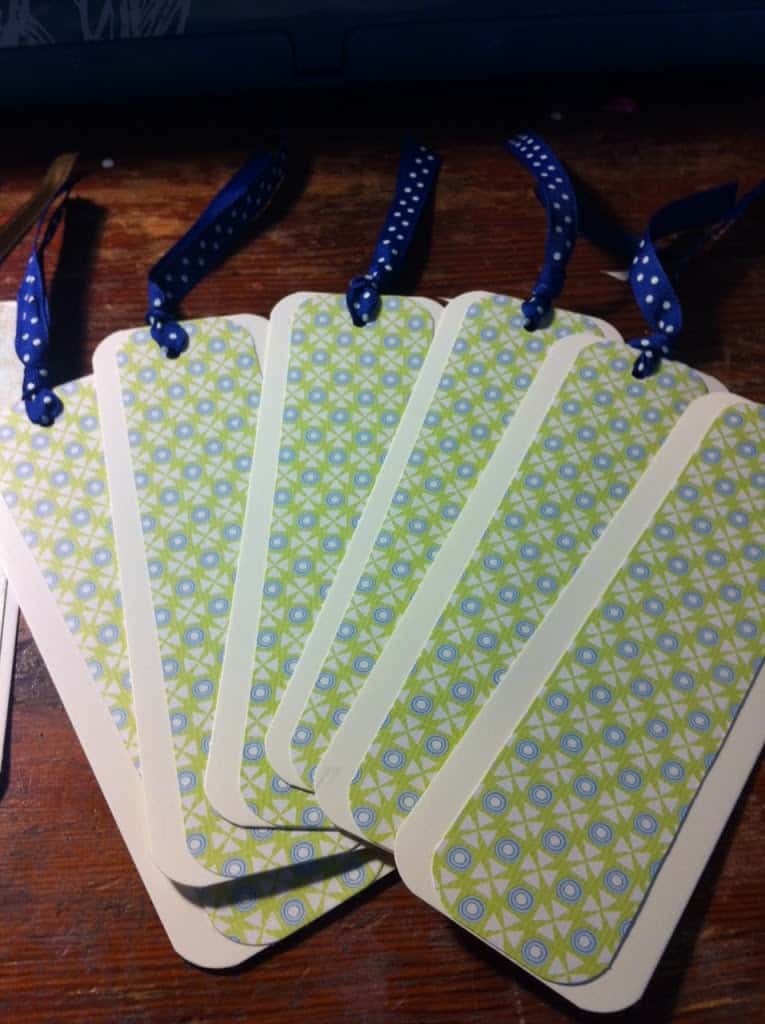
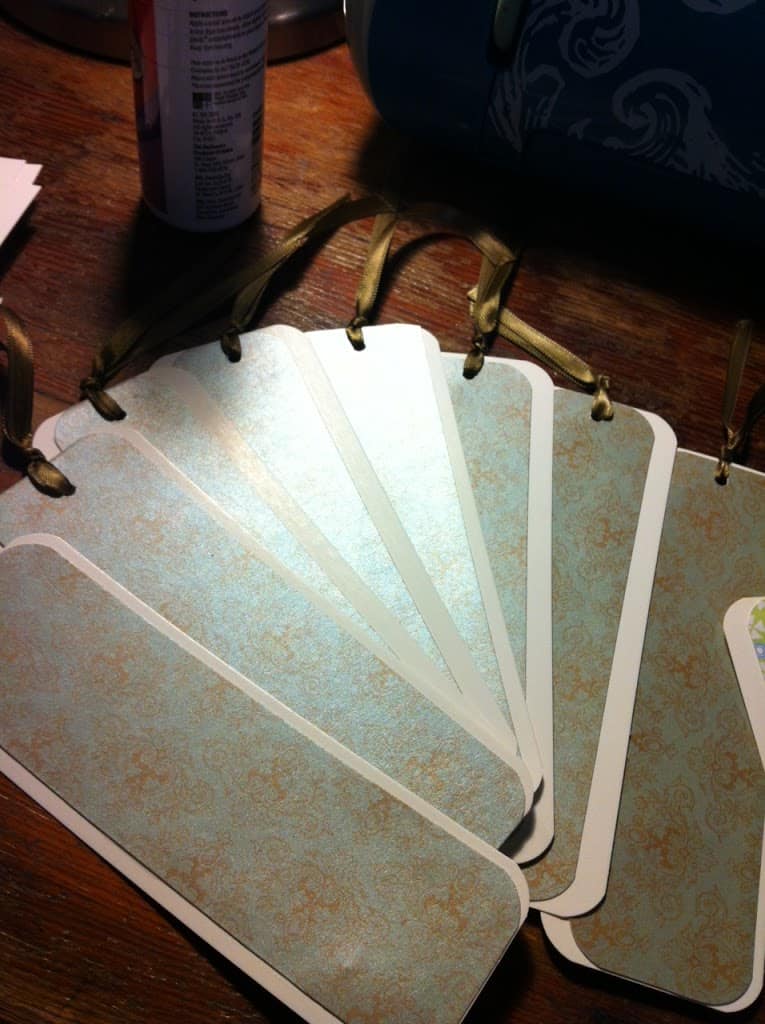
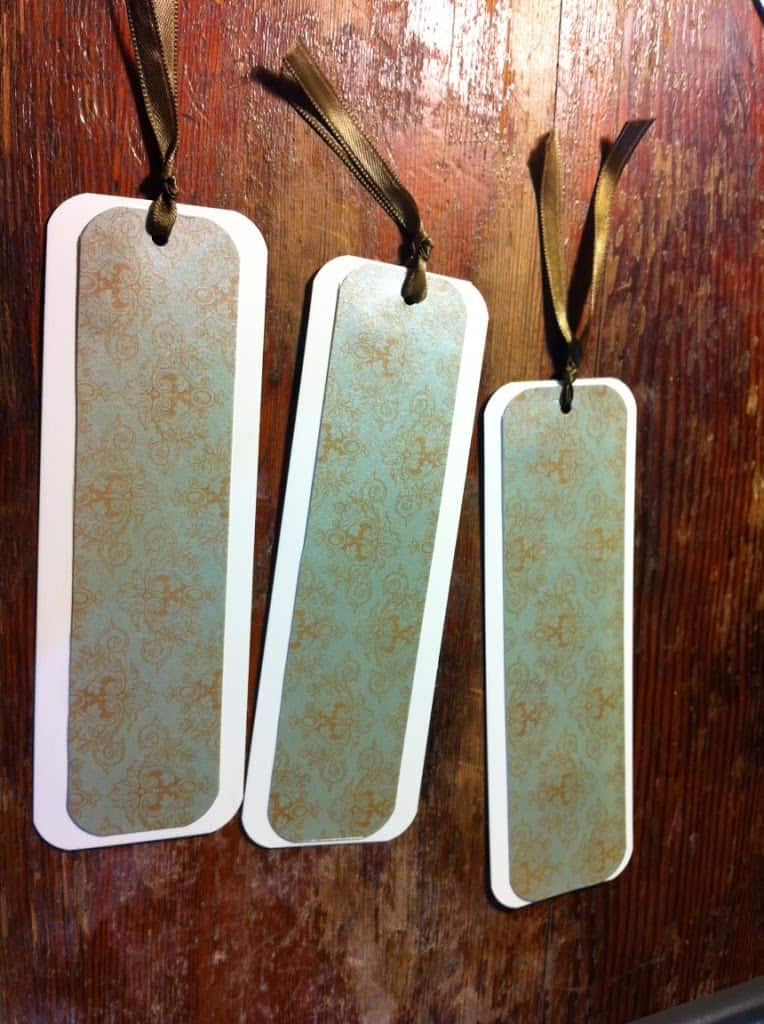
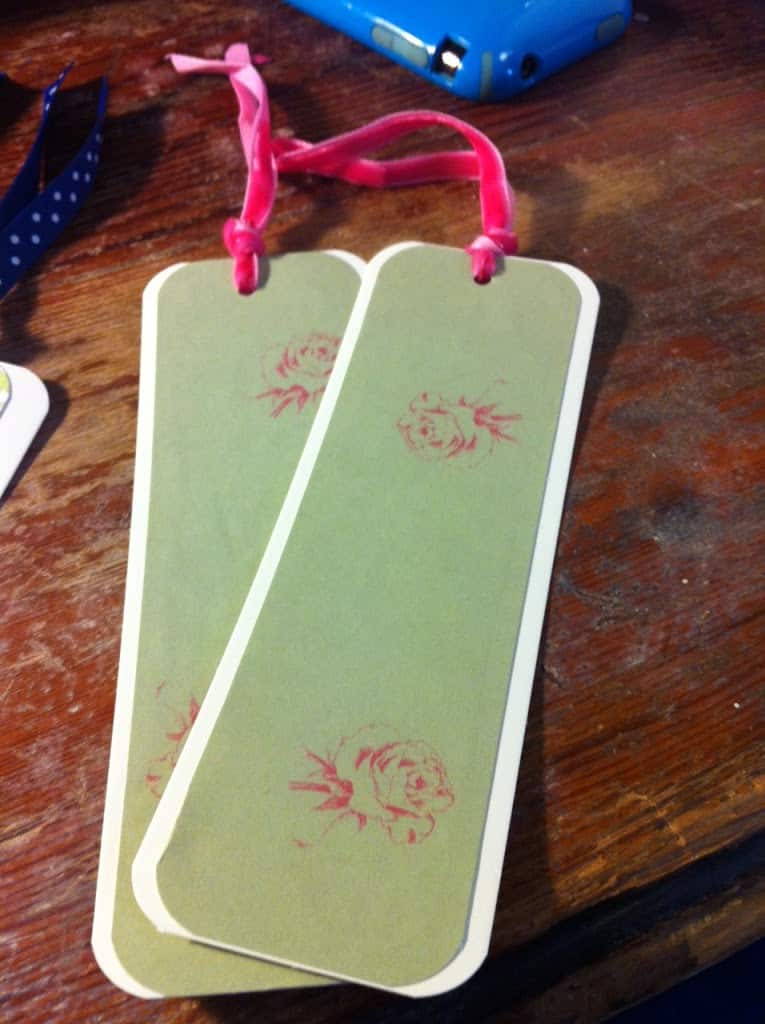
I created these bookmark cards using scrapbook paper that I already have, and bits of leftover ribbon. Since I have TONS of scrapbook paper organized by color, but not a lot of ribbon, I picked a ribbon I liked first, then matched it to a coordinating scrapbook paper. I kept running out of ribbon for different colors, so I would just switch to a new color combination. Which actually worked out well, because I could choose a style that I thought the recipient would like best. The only thing I had to buy was blank paper bookmarks. I had originally planned on just cutting them myself from white stock paper using my paper cutter, but I ended up at Michael’s Crafts when my husband decided that he wanted our fourth of July holiday to include him teaching me how to silkscreen baby onsies (That’s right, my 6’3”, 260 pound, bad ass husband silkscreens… and sews, bakes, creates fancy french dishes that I won’t eat because I can’t pronounce the ingredients, and knows every single line to the Broadway shows Rent and Legally Blonde: The Musical). Michael’s had an enormous pack of blank paper bookmarks for 3.49. Sadly, I threw out the outer package before I saw how many were included, but I’m going to make an educated guess of 150. I grabbed that because $3.49 was well worth the time it would take me to correctly measure out 30 bookmarks.

When I got home, I used my corner rounder on each side of the book marks, Then cut strips of scrapbook paper (I just eyeballed it to be slightly smaller than the bookmark). I rounded out each corner of the scrapbook paper as well and glued to the center of each bookmark using scrapbooking glue. I then used my small hole punch to punch a hole in the top, inserted ribbon and tied off. It took about 15 minutes to do all 30, but the majority of that time was spent deliberating on what combinations to use.

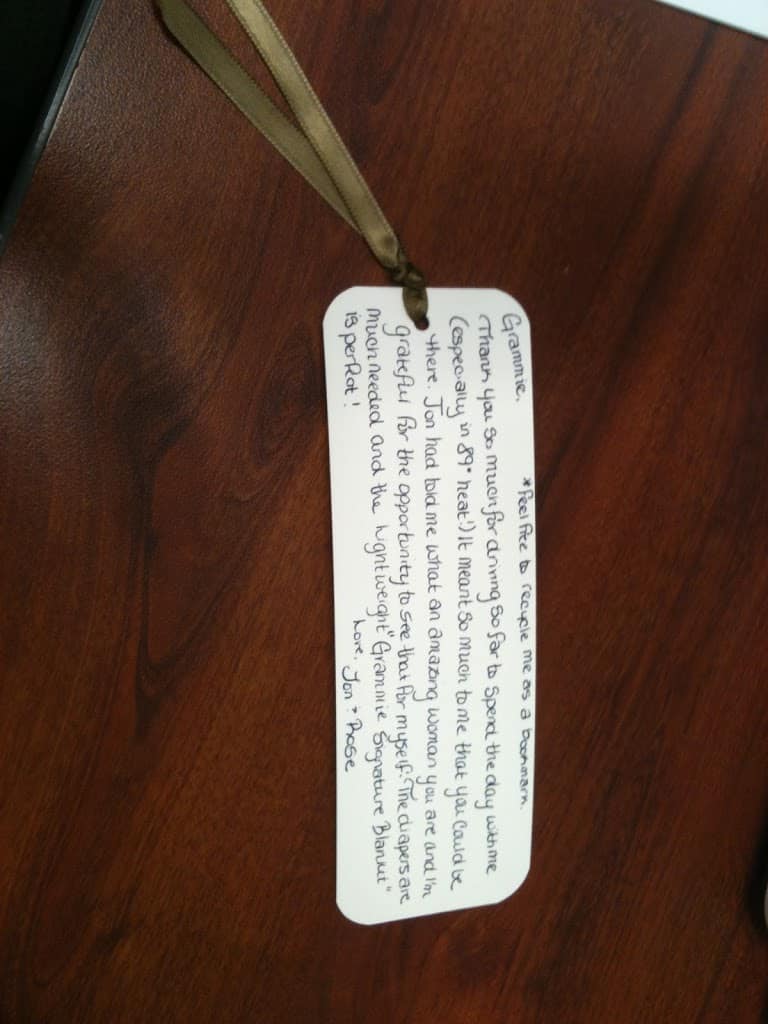
I paired them with stationary envelopes that I already had and made a bundle to fill out when I have some down time. The next day, I wrote my messages on the back of each card and included a tag line that said “*Feel free to reuse me as a bookmark!”

Instead of spending the $9.99 on 36 thank you cards that I had planned, I spent 3.49 for (guesstimate) 150 thank you cards and other projects. Plus, nothing says thank you better than giving someone something they can use.

DIY bookmarks


DIY bookmarks


DIY bookmarks


DIY bookmarks


DIY bookmarks
This post may contain affiliate links. If you click & make a purchase, I receive a small commission that helps keep the Busy Budgeter up and running. Read my full disclosure policy here.
FTC Disclosure of Material Connection: In order for us to maintain this website, some of the links in the post above may be affiliate links. Regardless, we only recommend products or services we use personally and/or believe will add value to readers

Filed Under: Crafts & Projects, DIY Better

Tell me what you think!Cancel reply

This site uses Akismet to reduce spam. Learn how your comment data is processed.

Success! Now check your email to confirm your subscription.

There was an error submitting your subscription. Please try again.

Recent Posts

Best Books On Home Organization (By Personality).

Best Books On Home Organization (By Personality).

February 21st, 2025

Free Printable ADHD Routine Charts for Busy Families

Free Printable ADHD Routine Charts for Busy Families

February 21st, 2025

How to Budget With ADHD, Depression, or Anxiety.

How to Budget With ADHD, Depression, or Anxiety.

September 10th, 2024

Cape Cod Chicken Salad Recipe: 15-Minute Picnic Meal

Cape Cod Chicken Salad Recipe: 15-Minute Picnic Meal

June 29th, 2024

Optimal Daily Schedule for Working Moms (In Every Situation)

Optimal Daily Schedule for Working Moms (In Every Situation)

April 9th, 2024

Busy Budgeter Inc. is a participant in the Amazon Services LLC Associates Program, an affiliate advertising program designed to provide a means for sites to earn advertising fees by advertising and linking to Amazon.com.

Ready to get started?

WHAT DO YOU NEED?

Start Here

If you’re new around here... and need step by step help for where you're at, start here.

Get Started

Save Money

Everything you need to budget, reduce your spending, find cheaper substitutions and curb impulse spending.

Start Saving Money

Make Money

Increase your income by making money on the side or find ways to work from home.

Start Making Money

Get Organized

Master the routines that matter and learn what you can let go to have an organized home and life.

Get Organized

Recommendations

These are the things I recommend over and over... all in one place.

View Recommendations

Start A Blog

Are you a blogger or want to be one? Everything you need to know is here.

Start A Blog

Ready to save a TON of money?

Get step by step budget help with the FREE 90 day budget bootcamp!

Success! Now check your email to confirm your subscription.

There was an error submitting your subscription. Please try again.

  • How To Budget
    • Ways to Save Money
    • Set Up A Budget
    • Stick To A Budget
    • Budget Printables
  • Easy Meals
    • 15 Minute Meals
    • Easy Lunch Ideas
    • Meal Planning
  • Home Organization
    • Home Management
    • Save Time
    • Home Routines
    • Home Management Binder
  • Make Money
    • Work From Home
    • Side Jobs
    • Money Making Apps
    • Hobbies That Make Money
Copyright ©2026, The Busy Budgeter. All Rights Reserved. Contact [email protected]. Privacy Policy
Design by Pixel Me Designs