Update 3/16/2017: If you’re looking to increase your blog’s income, the FREE guide to Finding Affiliates that Work for You is a MUST GRAB. It even lists all of the top affiliate programs in every niche, organized by commission and topic. Grab it for FREE here for a limited time.
Creating the perfect image and graphic design for your blog is something that overwhelms many bloggers. It doesn’t have to be hard though! Once I learned this simple method from the Elite Blog Academy, my stats soared. Creating pin images for Pinterest is now my favorite part of blogging and each image take less than 10 minutes to create. Don’t take my word for it though, try it for yourself.
Step 1: FIND STOCK IMAGES (or Use Your Own)
The end goal is for you to take your own drop dead beautiful photos that are completely unique and amazing. That can’t be taught in a post, or even a week. In fact, I’ve had 1 high school photography course, 1 college level photography course and 2 work training classes using a Nikon D-7000 and still can’t make my photos look as good as free stock photos. While you work towards buying a good camera and learning how to use it, you can focus on stock images for now. There are TONS of free resources and even more paid resources. Crop the images in the most unique way possible to avoid having your pin look identical to another bloggers. After you write your post, brainstorm image search keywords. For instance, on a recent post I did on grocery budgets, I listed these keywords to search through for free stock images. I came up with: “grocery cart, groceries, receipt, shopping cart, shopping, shopping bags, food, and food budget”. Search your terms and let the perfect picture you find be your design inspiration. If you blog in a niche that would make this hard if not impossible (mostly DIY Projects and Recipes) then try an online photography class.
My Favorite Places for Free Stock Images
- Pixabay
- Flickr (Make sure that you do an advanced search for creative commons and read the requirements for the license- ensure that you can use the photo for commercial purposes and that you give them photo credit if it’s a condition of the license).
Need more ideas for free stock images? Kristy Girl has a great resource list. Though in my niche, I can almost always find what I want with those two resources.
My Favorite Places for Paid Stock Images
- Dollar Photo Club: One of the least expensive of the paid stock photography options.
- iStock: One of the most expensive but considered to be the most expansive resource of paid stock photography.
Online Photography Classes:
Start with this free e-guide from Craftsy.
If you want to invest in their full online class, you can choose that option from the guide link above. (Hint- the Ultimate Bundles usually have a free Craftsy class included with it, you would pay less for the bundle of many, many awesome resources than this class alone, so consider waiting. You can be put on the waiting list here to be notified when the next bundle is available).
If you have the time though, an in person class for this is the best way to learn. Check your local community college for classes, and also do a google search for “photography class” and your town to see if any local businesses offer training in that area.
Step 2: USE A DESIGN PROGRAM
There are 3 popular ways to edit and design your images: Canva, Adobe photo shop, and PicMonkey. Out of the three, I strongly suggest Pic Monkey unless you’re already an adobe expert. Pic Monkey is incredibly easy to use, free (or pretty cheap at $33/year or $5/month for the pro version) and has just enough options to make designs easy without overwhelming you. You can use Pic Monkey for free, but the extra graphics and overlays that the royale membership gets you are well worth it to me. Canva is my second choice- it’s also free unless you choose to use some of their predesigned graphics or stock photos (which are a steal for only $1!). I’ll run you through my quick Picmonkey tutorial to make this easy for you.
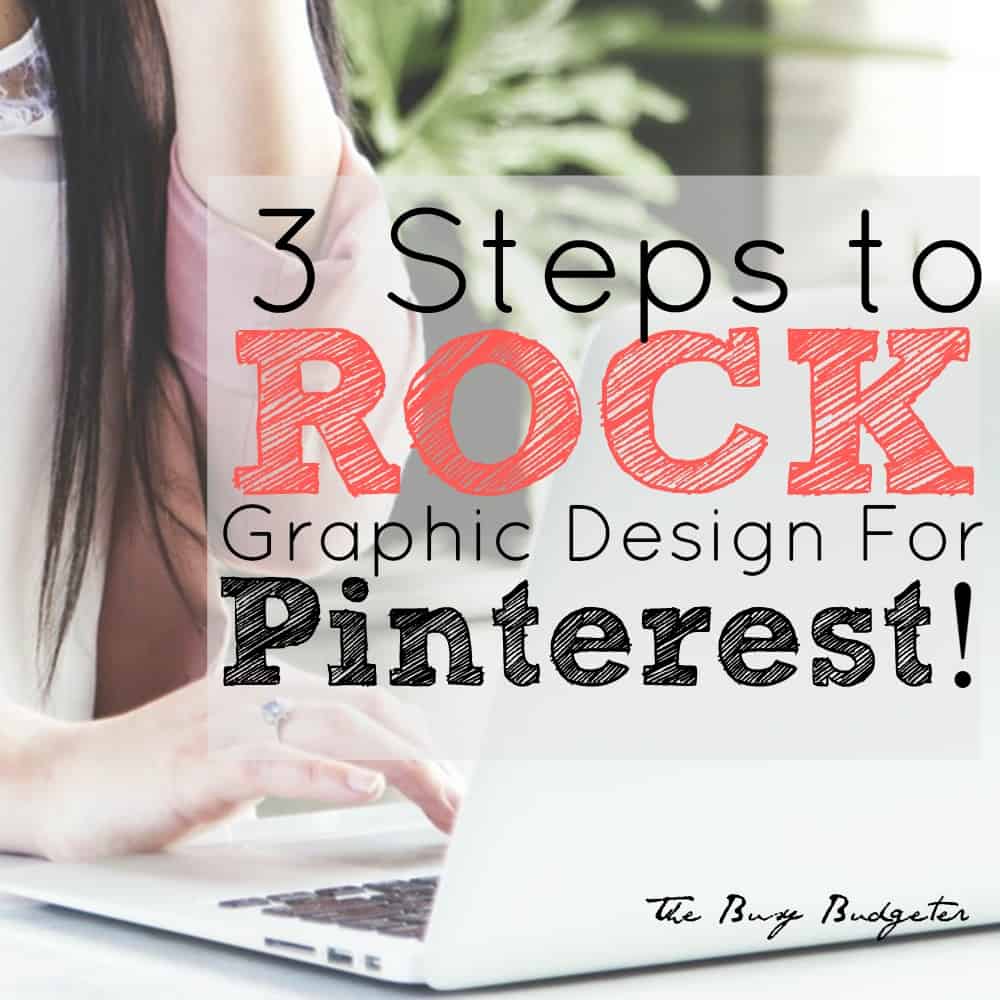
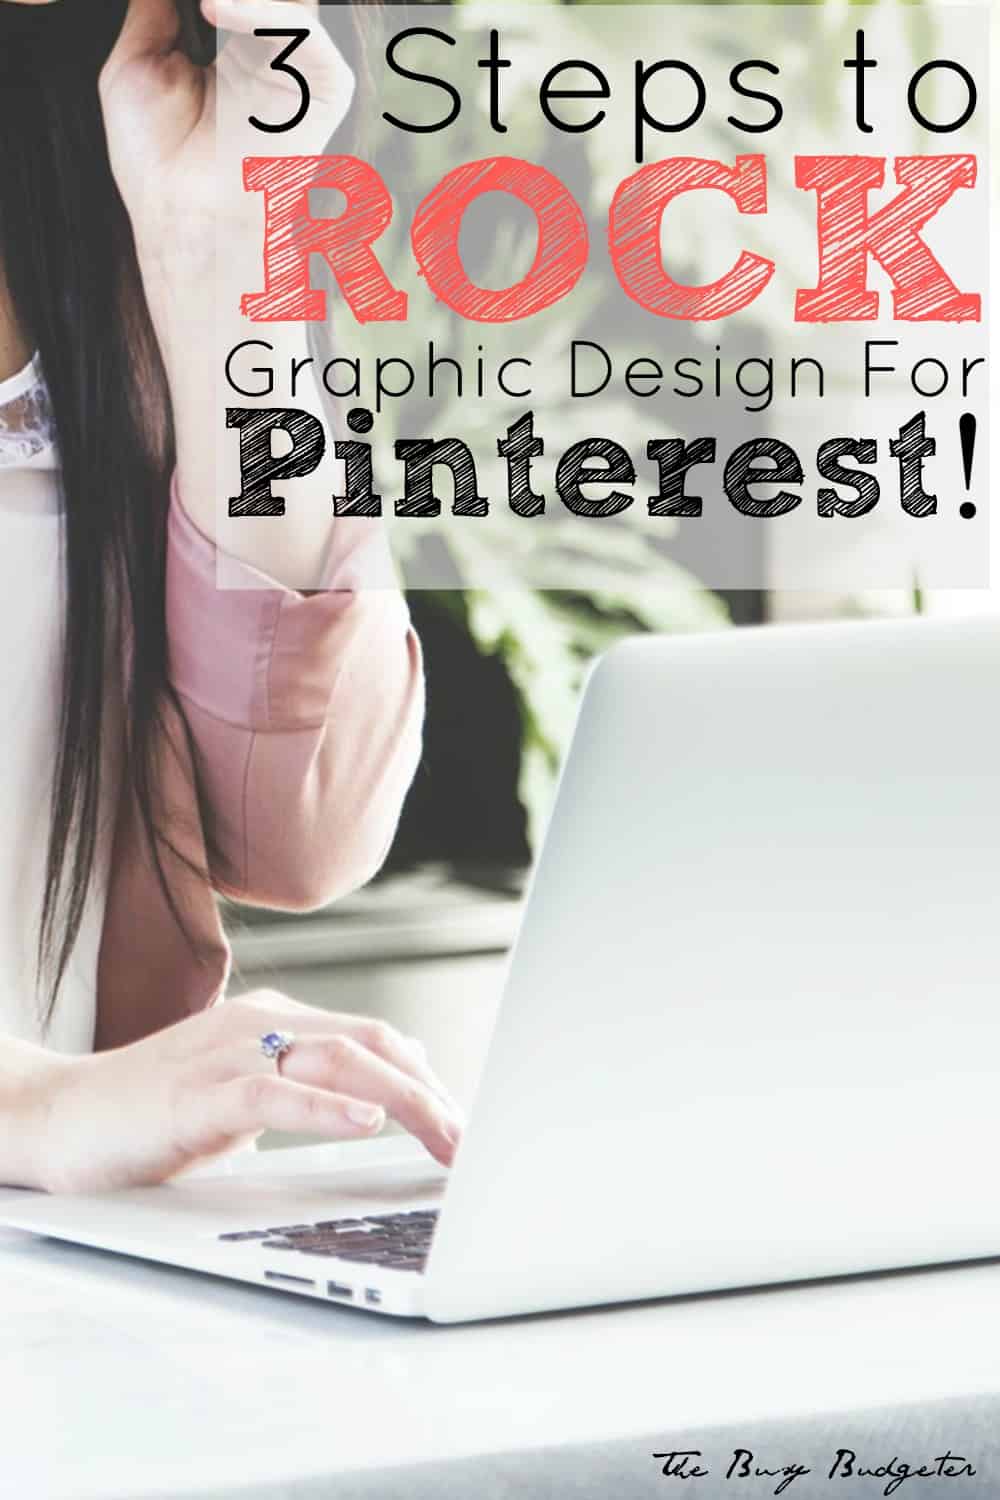
Now we need to edit! Let’s use this image from yesterdays post (which was created using this system) as an example:
Let’s use this graphic for yesterday’s post as an example. This was created in Picmonkey using this three step tutorial.
Step 3: EDIT YOUR PHOTO
Picmonkey tutorial…
- Head to the left hand tab and crop your photo to 1000 x 1500 (The most common Pinterest image size).
- Choose your wording. Try to solve a problem or describe the contents in the fewest words possible. “3 Steps to Rock Your Graphic Design” is better than: “How I Rock My Graphic Designs for Pinterest Using Pic Monkey (and You Can Too!)”
- Choose fonts that complement each other, (no more than 3) or that you love the look of together. Think Fat/skinny, tall/short. Elaborate/simple. Check out this page from Blog Clarity for complimenting font ideas.
- Add the text to your image increasing the size as much as possible. You want the text to be easily readable on the Pinterest mobile app.
- Add a simple box overlay on top of the text, adjust the size to cover the text, change the color to white, and fade it to about 40% and then right click on the overlay and click “send to back”.
- Save it to your computer and add it to your post. You’re all done!


Why are my graphic design skills so important?
In one word? Pinterest! Pinterest pretty much revolutionized the blogging world. Your graphic design skills make awesome pins and awesome pins (with awesome content to follow through) get noticed, re-pinned, and clicked. Which means exposure, earnings and more opportunities to you. It’s not unusual for a successful blog to get most of their traffic from Pinterest, so having a pin that gets noticed is essential. It’s easy to do once you get the hang of it and it’s a skill that continues to grow. I was blessed that I learned this and about a million other skills in the Elite Blog Academy from Ruth Soukop of Living Well, Spending Less.
What results did I have from better graphics?
Pretty impressive (see below), although I can’t attribute it to just graphic design. I started the Elite Blog Academy in September of 2014. While I had been blogging for almost 3 years on a free blogging platform (blogger), I created a brand new self hosted site just before the class started and was completely clueless about blogging as a profession. I couldn’t recommend this class more to someone who is absolutely serious about earning income through blogging. It’s fairly expensive but has been amazing. I wouldn’t suggest this to someone if they’re just starting out blogging (build a free site and do it as a hobby for a while), but if you regularly contribute to your blog or are ready to dedicate at least 15 hours a week to blogging in order to make a full time income from it (and understand that this won’t happen overnight), then this class is for you. For me, the decision was easy. I was investing the profits I made from my first “hobby” blog over the last three years (anywhere from $35 – $150 a month depending on how much effort I spent on it) to see what it could do. I’ve gotten to know many of my blogging classmates over the course, and can say that almost everyone is experiencing the same results that I have been (and much more for the classmates that are past the advertising units!). However, the people that had started the class trying to monetize on a platform other than a self-hosted word press site, had never blogged at all, or that thought it was a simple online tutorial had a tougher time in it. Think of this as a self-paced, very detailed college class. It’s a ton of work, but the payoff is huge. Thanks to this class, I understand the intricacies of almost every aspect of blogging as a business now. Plus, when I get stuck on something, I have successful blogger contacts that I can ask for help or advice.
Here’s my results from Units 1-7 in the class:
My pageviews went up 175% from 35k to 100k and steadily increasing.
My income went up 1,996%. From $18 to $377 monthly. This will likely continue to increase considering I just started the units on advertising. I currently only make income from 3 adsense ads on the blog, and an Amazon affiliate program.
Head on over here to find out more about the Elite Blog Academy, and how you can get a FREE mini e-course. Even if you decide that the Elite Blog Academy Class isn’t for you, the free mini e-course has lots of information to get you moving towards monetization.
What are your favorite tricks to make amazing pins?
Shared on Thrifty Thursday and Frugal Friday.
This post may contain affiliate links. Purchasing a product using that link will not change your purchase price, but I may be paid a percentage of your purchase for referring you to the product. I never refer products that I wouldn’t use myself.
This post may contain affiliate links. If you click & make a purchase, I receive a small commission that helps keep the Busy Budgeter up and running. Read my full disclosure policy here.
PicMonkey and EBA – two of my favorite things! Congrats on doing so well with your blog!
Thanks Jayleen! It’s exciting to see it come together! I love your blog!
Graphic design skills are SO important! I wish I’d taken more design classes in school! I’ve been using Pic Monkey for my blog and Canva for social media stuff. Thank goodness there are awesome tools out there that make it easier!
It used to take FOREVER for me to do a simple Pinterest graphic! I can’t believe how quickly it goes now!
Fascinating. I was wondering about Pinterest… bit of an eye-opener this!! I really enjoy design so I will give it more thought now.:)
It used to really intimidate me Beth, The Elite Blog Academy was a huge help! Once I got the hang of it, it’s my favorite part of blogging. (Okay, my second favorite, but all bloggers love writing more than anything!)
Frugal Friday is one of my favorites too! I find the best stuff there!
Thanks Ann! I love your blog!
That’s one of my favorite blogging groups! Thanks! I just checked out your blog and WOW! You are way more put together than I was as a newbie! It’s beautiful.
I just started EBA a couple weeks ago. So far it has been great! I haven’t worked much with picmonkey, so this is so helpful. Thanks!
Yay! That’s awesome Julie! That means I’ll likely see you around the forums. It’s an amazing class. I was just reviewing this post and realized I tripled my income last month. That was the best investment I’ve ever made!
Great tips!
I do Pat! All of the recent graphics I’ve created are done this way. I’ve used Canva and liked it as well, but Pic Monkey stands out to me as easier to use. Good luck in your blogging!
Thanks Karla! I started with Canva and liked it, but switched to Pic Monkey because it’s more user friendly to me. I think the important thing is to find something you life, and stick with it. 🙂
Thank you for sharing! Just tried this out with a new post on my blog – excited to see how it goes!
I just popped in and saw it Tamara. It looks great!
I am starting a blog and have found yours to be so helpful- very grateful for the wonderful content that you share!
That’s great Shelly! I wish you the best of luck on your blog!
You’re welcome!
Good Luck!
That was so sweet 🙂 I am happy to help!
Hello,
Thanks for this post. It has helped me out tremendously! I am very new to the blogging world and this post helped me figure out how to create those wonderful Pinterest pictures that I see every day. I am still trying to figure out what looks best and making sure my titles are catching. Hopefully with more practice and research I can create pins that pull people in.
Great Share!
Thank you so much for sharing this informative post this is something I need help with.One most important skill is graphic designers proficiency in the visual arts. The art they produce, whether traditional or computer-generated, is primarily visual, and so are the audiences – therefore they must be able to utilize their designs in a way that would be pleasing and memorable to the target audiences’ eyes. Once again thank you so much for sharing. keep Sharing.
Wow! That was quick. It took me a long time to get my Pinterest graphics right. You just made my work easier. I’m your number one fan. I came across your name in the Making Sense of Affiliate Marketing ecourse. Thank you for sharing Rosemarie!
Yay! I’m so glad it helped 🙂
Thank you for sharing the informative blog post.
EBA isn’t that cheap anymore lol… Isn’t it like $1000!? (2018)
The price has increased. We are updating the post now! Thanks for letting us know…
That’s very helpful, Rosemarie!
I used picmonkey for most of my designs and they did well on Pinterest. I love that font.
Picmonkey has some amazing fonts, that makes me keep going for it against Canva! Thanks a lot for the tips!
Thank you so much for sharing! I can’t wait to try out these tips!
Great article. Interesting to see how it compares now to my favorite tool, Pixteller. They share some similar features, but overall, I think Pixteller is easier to use.